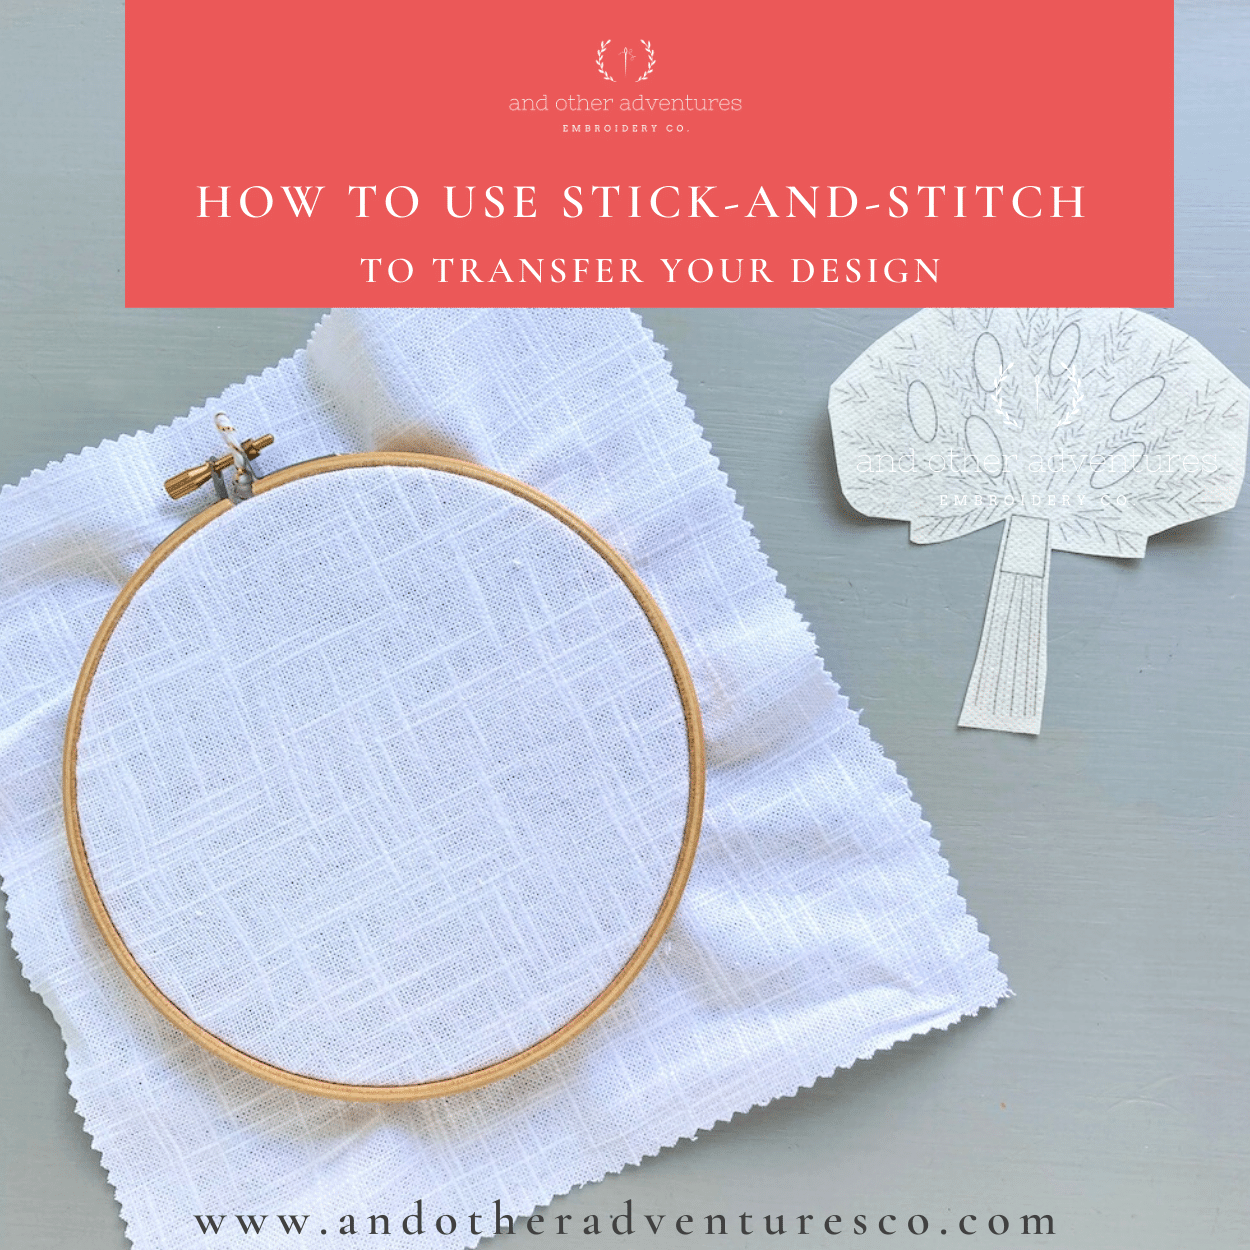
How to use Stick & Stitch to transfer your embroidery design - And
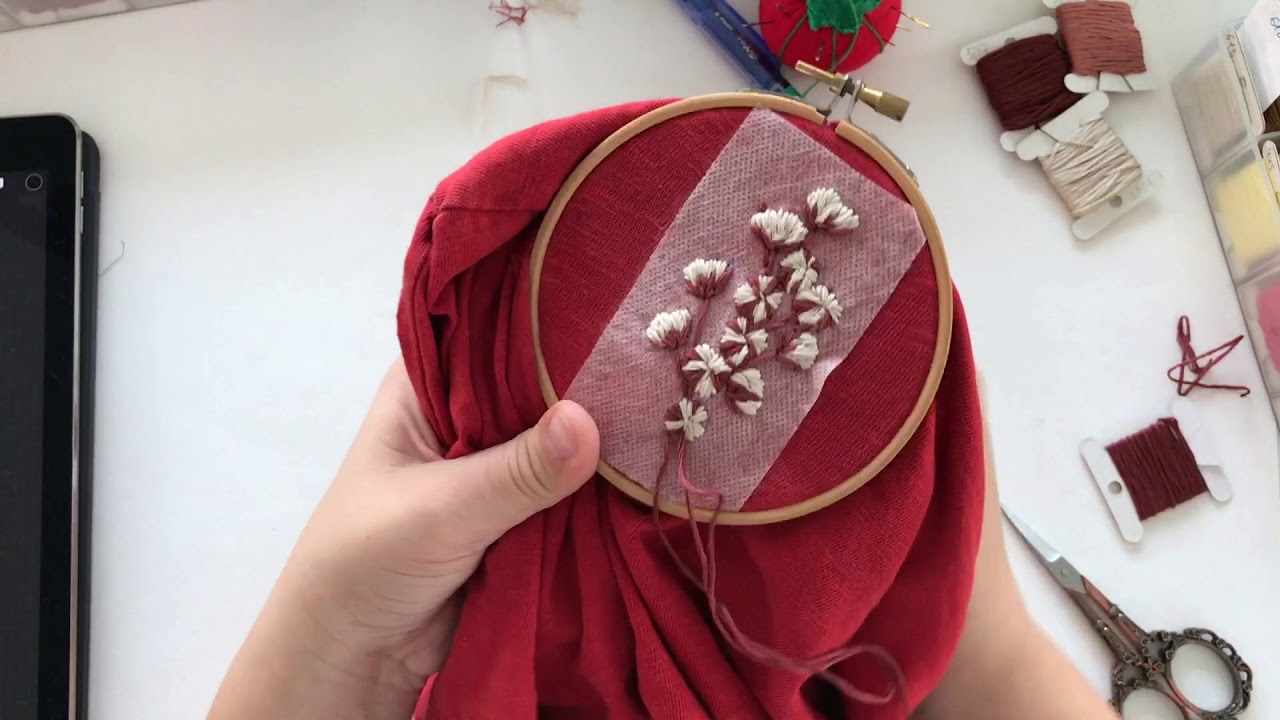
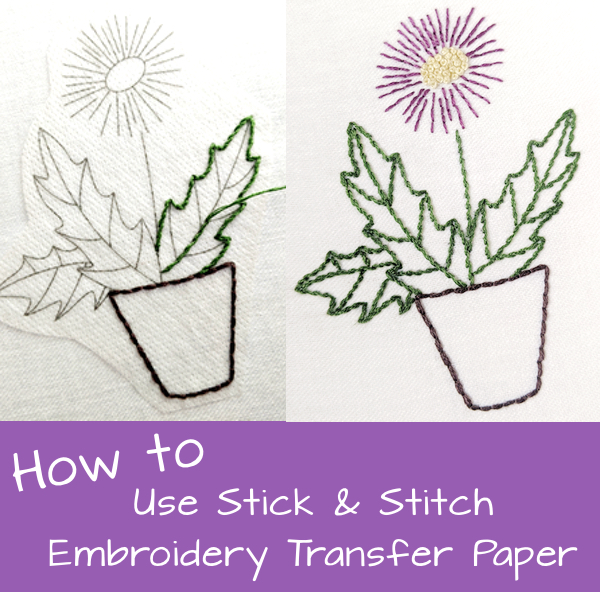
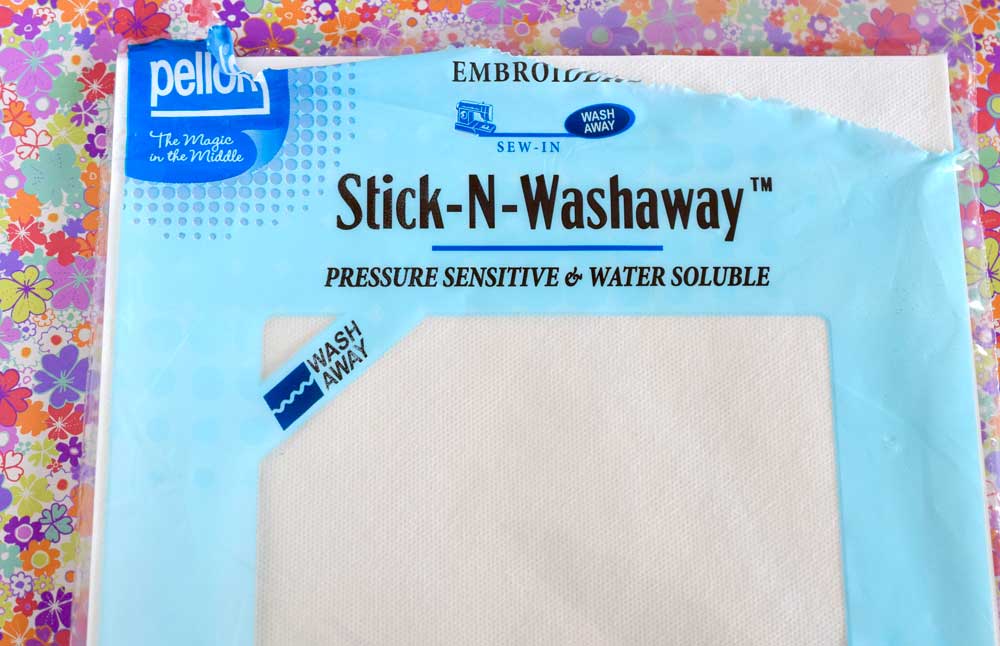
There are so many different ways to transfer an embroidery pattern. One of my favorite ways is to use a water-soluble stick-and-stitch stabilizer. I simply print the design on to the stabilizer sheet using my printer and follow the instructions listed below: Peel the backing off the design and stick it to the fabric. Press down on it for a few minutes to really get it to hold in place. Embroider as you normally would. Once you have completely finished stitching, cut away any excess material. Then carefully wash the pattern away with warm water. I let my fabric soak in lukewarm water for a 5-15 minutes in order to allow the stabilizer to dissolve and then once I see that most of it is off, I give it a final rinse. Gently pat your embroidery with a towel

Diy Stitching Embroidery Paper New Handmade Embroidery - Temu
How to use Stick & Stitch Embroidery Transfer Paper - Wandering
Trick for how to transfer embroidery patterns
Transferring Designs: Hand Embroidery for Kids, Episode 2 - Sulky

Moths Stick & Stitch Embroidery Patterns – Snuggly Monkey
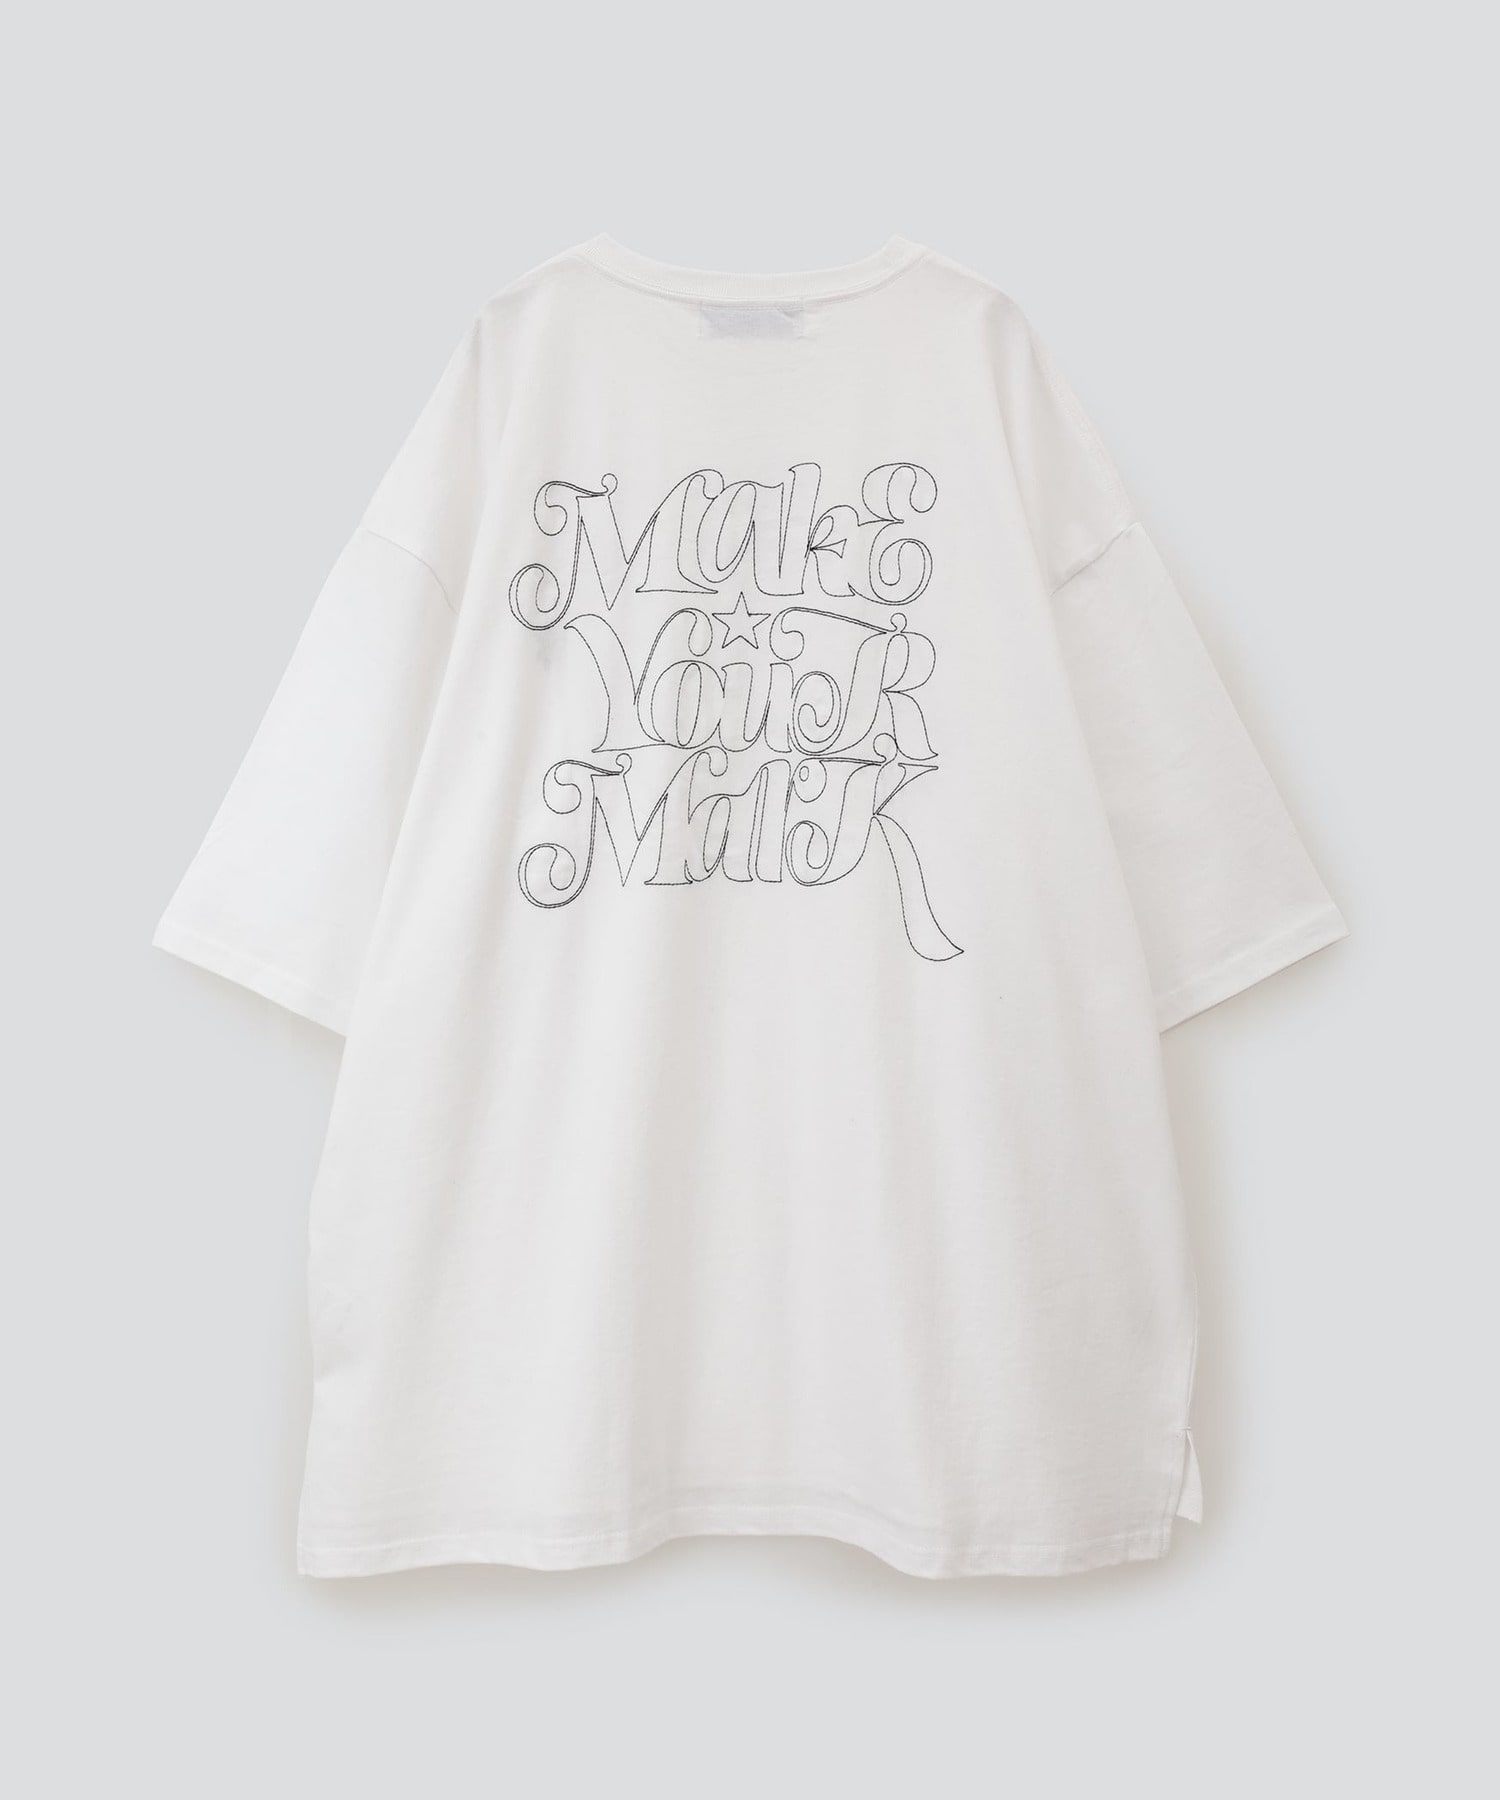
MAKE YOUR MARK】EMBROIDERY STITCH TEE

How to use Stick & Stitch to transfer your embroidery design - And
How To Transfer An Embroidery Design To Fabric - Molly and Mama
Water Soluble Embroidery Stabilizers Stick And Stitch - Temu

How to transfer an embroidery design to fabric using washable

Embroidery Stick and Stitch Tips – Bella Savoy
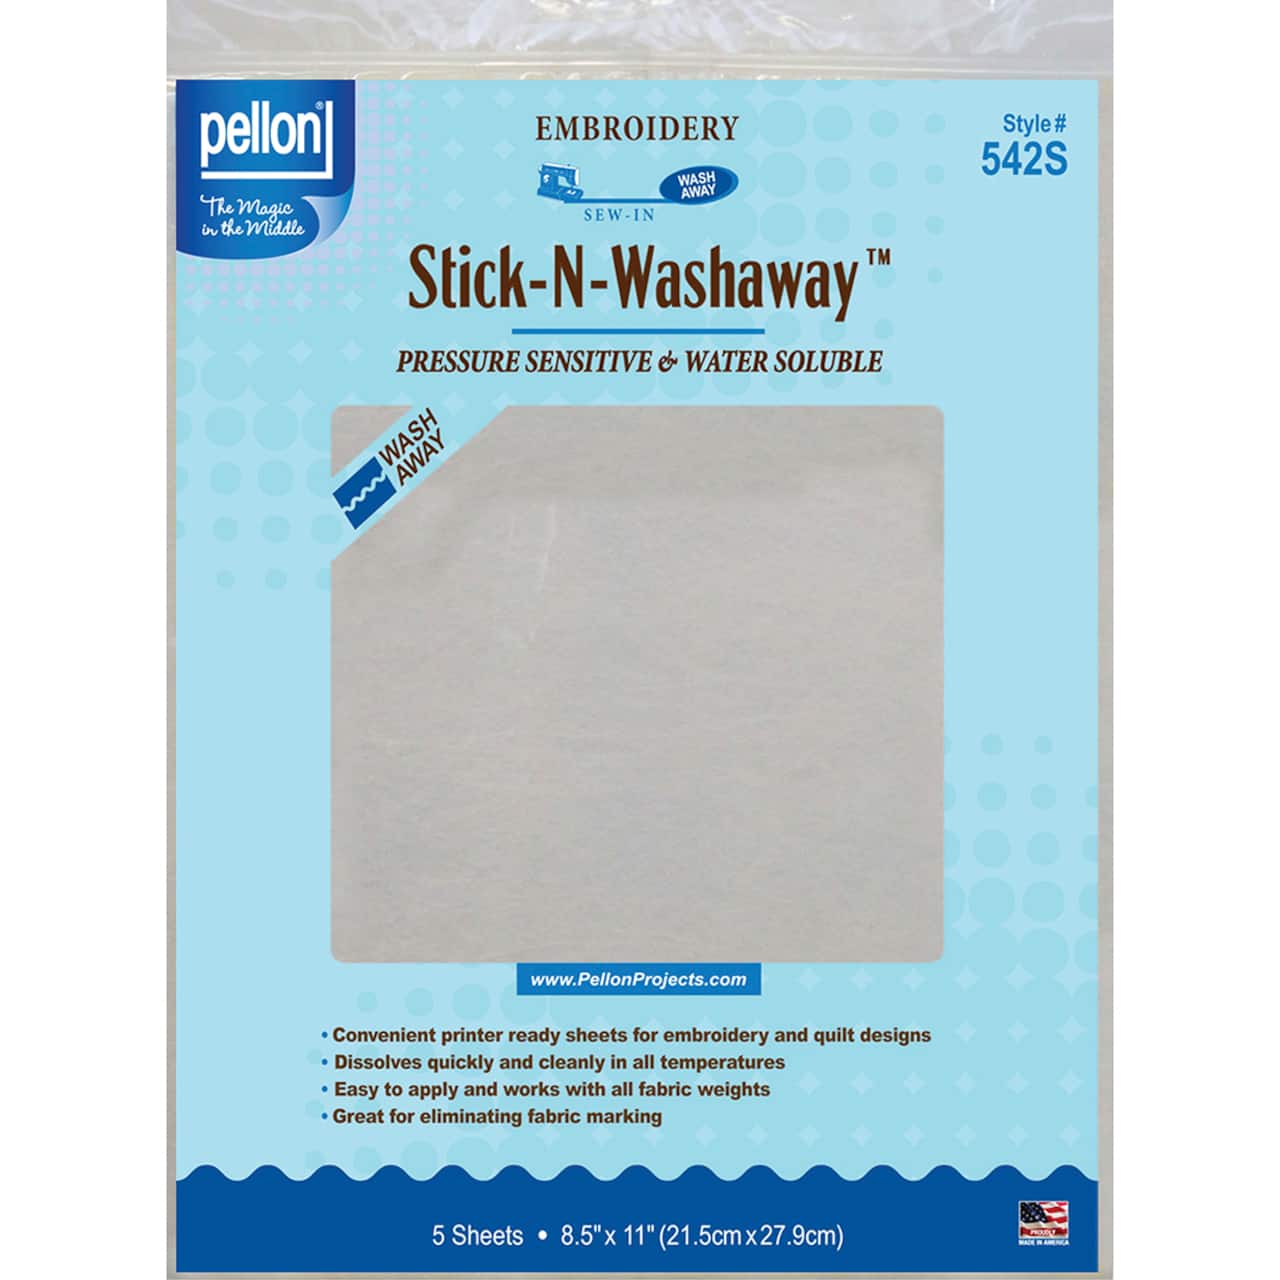
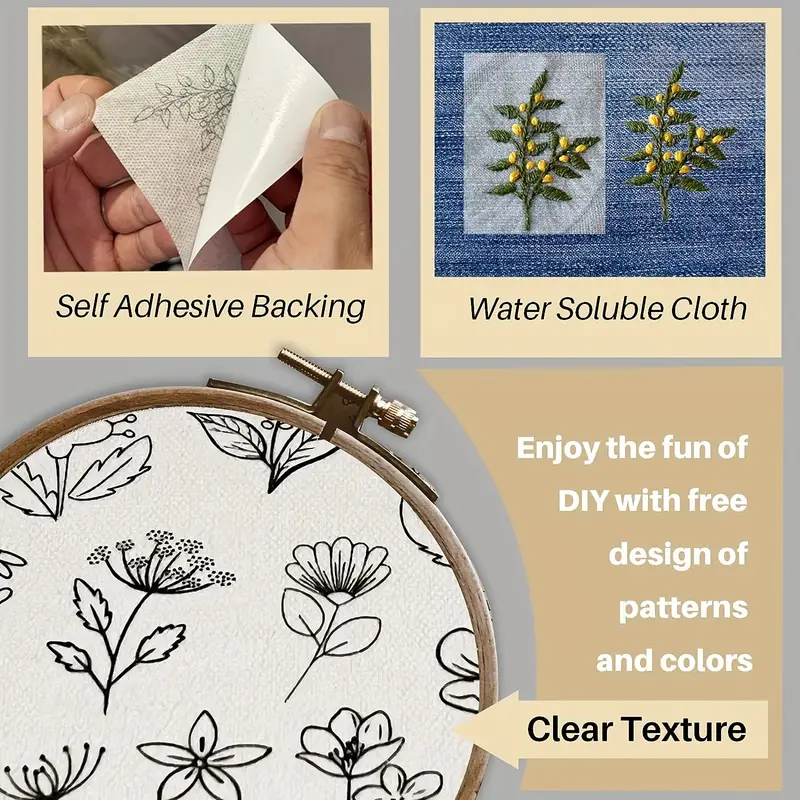
What is a STICK & STITCH EMBROIDERY PATTERN? It’s a pattern printed on a sheet of water-soluble stabilizer that you cut out and stick on top of your

Stick & Stitch Embroidery Pattern
EASY EMBROIDERY TRANSFER METHOD WATER SOLUBLE STABILZER — Pam

Odinaddi Blog - Transferring Embroidery Patterns: Using a Lightbox